September 14, 2026 • 22 Min Read
September 14, 2026 • 7 Min Read
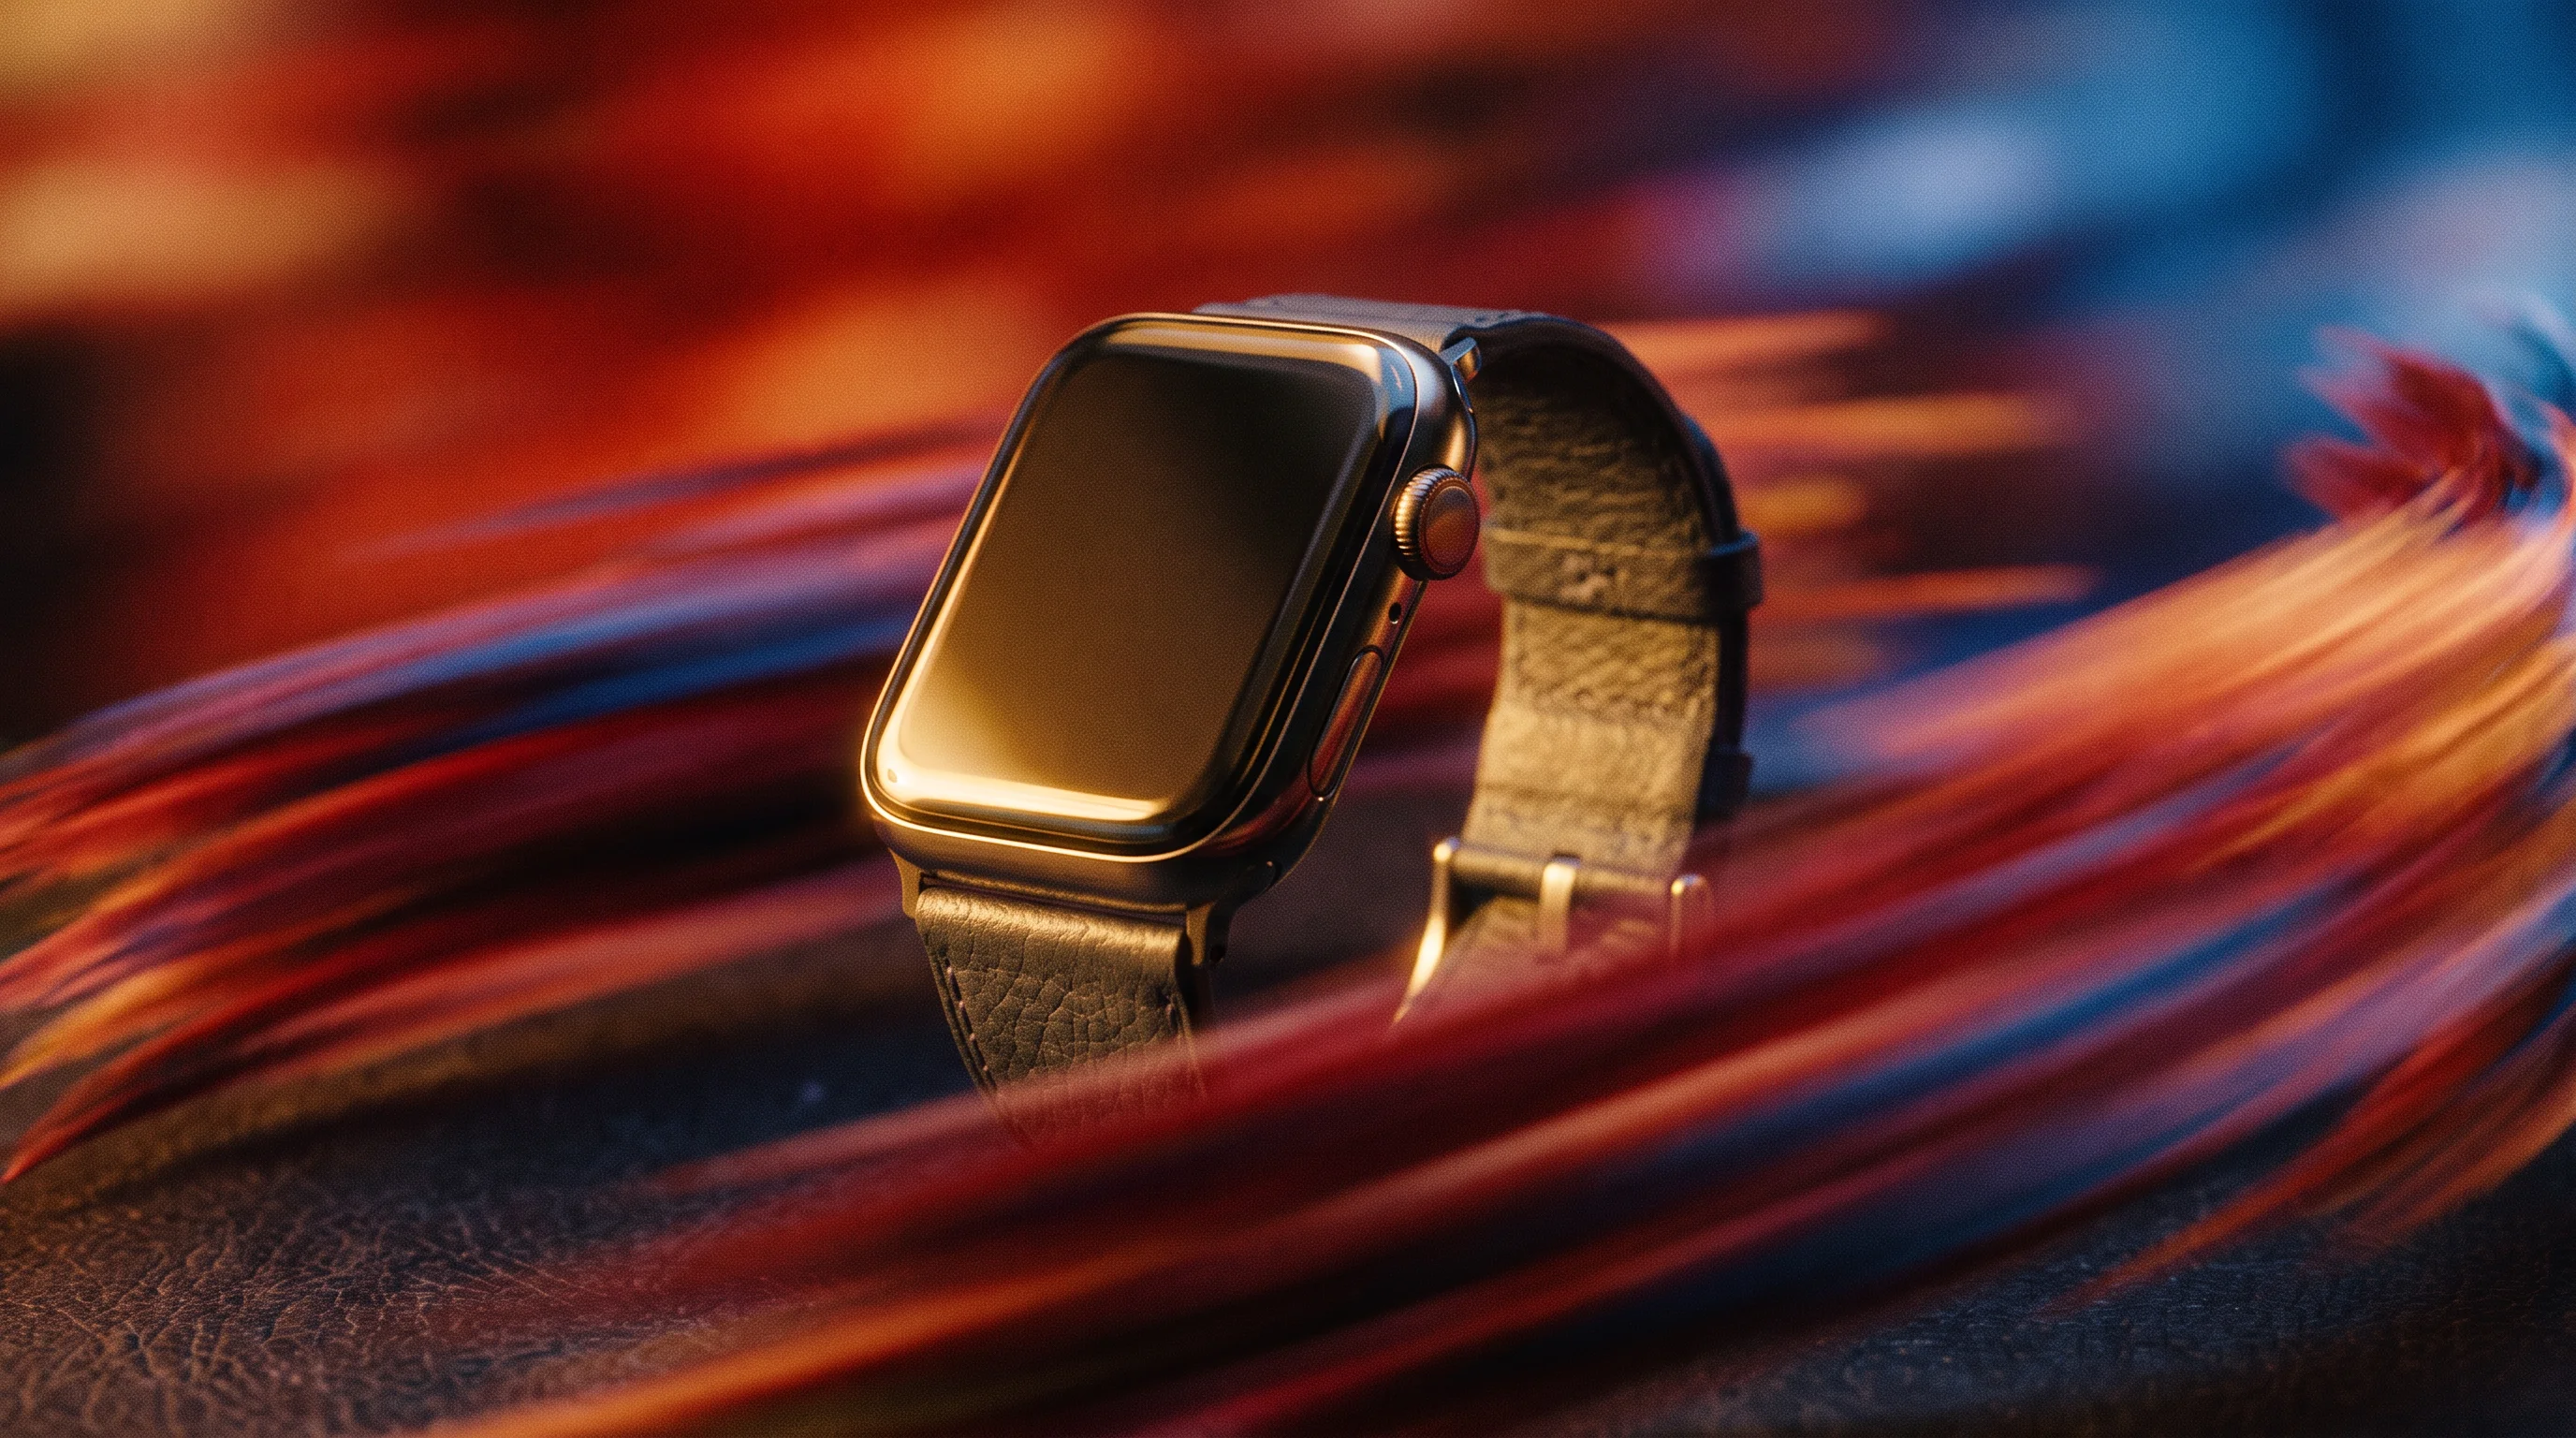
To generate a product hero shot on Melius, put a clean pack shot of the product on the canvas, add its real specifications and a style reference as separate inputs, connect all three into an image-to-image node at 2K, and write a prompt that names the scene while stating plainly that the product itself must not change. Then run three or four variations and inspect them full screen.
The workflow is easy. Getting the product to look like your product is the part that takes practice, and it's the complaint marketers raise most often on onboarding calls. The shot is beautiful and the proportions are subtly off, or the logo resembles your logo, or the fabric drapes like a stock photo rather than like the thing you sell. Nearly all of that traces to one cause, and it's fixable.
An image model doesn't paste your product into a scene. Whatever falls inside the region it generates gets rebuilt as an approximation from what it can infer, so anything it can't infer gets invented. Your logo isn't a shape it can reason its way to, real proportions aren't recoverable from one photograph, and the weight and fall of your material isn't something a prompt adjective conveys.
What fixes it is giving the model your actual assets as distinct inputs, then being explicit about which of them are fixed. Prompt wording alone won't get you there. Every step below removes one more thing from the set the model is guessing at.
The click path is in the help centre recipe for product photos and swaps. The shape of the work is this:
Once a canvas produces a shot you'd ship, the graph is the asset. Duplicate it, swap the pack shot and the specifications for the next SKU, and the light, composition and constraints carry over. That's how a team working through a catalogue gets consistency instead of forty shots that each look slightly different.
The neighbouring jobs start from the same graph: background variants for seasonal scenes, a swap to drop your product into a scene you already have, re-composition for each channel's ratio. Melius ships a Product Swapper preset for the swap once it becomes routine.
Melius is the Agentic OS for creative work, built on a node-based canvas where each input and output is a node and edges pass one node's result into the next. That structure is what makes product fidelity tractable: the pack shot, the specifications, the logo and the style are four things the graph holds separately, so you change one without disturbing the other three and re-run everything downstream.
You brief an agent in plain language and it wires the graph and runs the models. Every step stays open, so the prompt behind a nearly-right shot is right there to correct. You direct; the agent produces.
The models are on one subscription. Melius spans a library of leading models for image, video and audio, and agents route each step to the strongest one for that step unless you choose per node.
You own the content you create on Melius and can use, publish, and distribute it commercially, subject to the underlying model providers' terms. Melius doesn't claim ownership of your work and doesn't use it to train AI models.
For related workflows, see building a static ad from a style reference and choosing a Nano Banana model.
Yes, for hero shots, lifestyle scenes, background variants and channel-specific crops, generated from a pack shot you already have. What it does not do on its own is guarantee the product is accurate, which is why the workflow feeds in the product's real specifications and branding as separate inputs and ends with a check against the actual item.
The main image a shopper sees first, on a listing, an ad or a landing page. It has to read at a glance and it has to look like the thing that arrives, which is why it's the shot where product fidelity matters most.
Because the model draws your logo from scratch on every generation. It rebuilds an approximation of everything in frame, and a logo is exactly the kind of arbitrary artwork that can't be inferred from context. Adding the logo file as its own reference node, and instructing the prompt not to redraw it, is the fix.
For the input, often yes. This workflow starts from a clean pack shot, and the quality of that photograph sets the ceiling on everything generated from it. What changes is the volume: one good pack shot can carry a season of scenes, ratios and variants that would each have been a separate setup.
Build the canvas once on a single SKU until the output is right, then duplicate it and swap the inputs. Reusing the graph is what keeps the lighting and the framing from drifting between shots, and it's how high-volume teams produce variants at catalogue scale.
2K or higher. Generating at 2K isn't the same as upscaling a 1K image afterwards: the model has more room to resolve fabric weave, embossed marks and label typography while it works, and upscaling later operates on an image whose fine detail is already gone. Note that the canvas preview is downscaled at any resolution, so judge sharpness from the full-screen view or the download.
Generation runs on credits from one shared pool, whichever model a step uses, so trying the same shot on two models costs nothing extra in setup. Current plans and credit allowances are on the pricing page.
Have a pack shot and a product page? Open Melius and build the canvas on one SKU first.
September 14, 2026 • 22 Min Read
September 12, 2026 • 17 Min Read
September 10, 2026 • 11 Min Read