October 17, 2026 • 7 Min Read

How to turn a sketch into a realistic image with AI

Melius Team
How to turn a sketch into a realistic image with AI
Melius Team

Key takeaways

  • A sketch gives the model the shape; the prompt supplies the materials and lighting.
  • On Melius, attach the sketch to a brief to Mel, the Melius agent, and Mel builds and runs the image workflow on the canvas.
  • Clean the sketch before it goes in: dark lines on a plain background, one subject filling the frame and no labels.
  • Tell Mel the proportions and composition are fixed, and the render holds close to the drawing.

Turning a sketch into a realistic image with AI

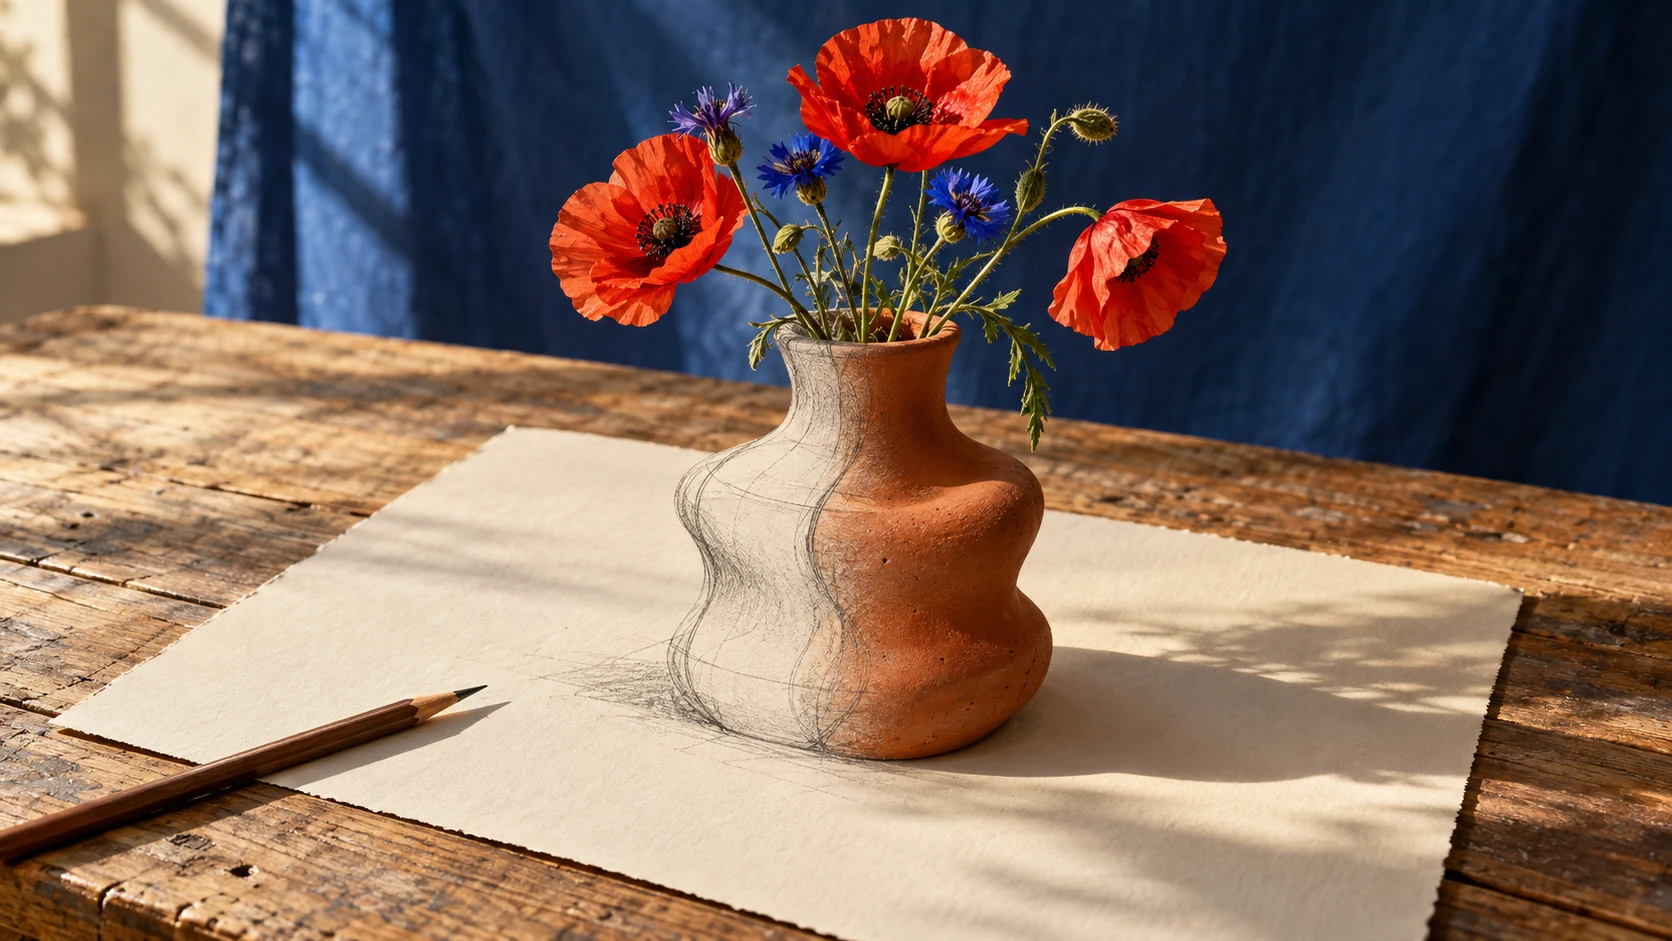
To turn a sketch into a realistic image with AI, give a model the drawing as its structure and describe the finished image in words, down to what it's made of and how it's lit. The sketch holds the composition and the proportions. Everything a line drawing leaves out, like whether the frame is walnut or steel or whether the light comes from a softbox or a window at dusk, has to come from the prompt.

Architects use sketch-to-image to show a client a concept before a full render, and product designers use it to check a form. On Melius, the AI-native operating system for creatives, you hand the sketch to Mel with a brief. Mel builds the workflow on the canvas and runs it, and every step stays open for you to change.

What makes a sketch-to-image result look real

The technique behind it is called conditioning: the model generates a new image while following a map of the edges or depth in your input. The approach was set out in the 2023 ControlNet paper, and its scribble model, joined later that year by a line-art model, is why a rough drawing can steer a photorealistic result.

What matters in practice is whether the model uses your sketch as a structure or as a reference. A structure locks the layout, so the outlines and proportions survive into the render. A plain image reference is treated as inspiration, and the model keeps the general idea while redrawing the rest. If the result keeps drifting from the drawing, it's probably being read as a reference.

How to brief Mel with a sketch

Attach the sketch in the Mel chat and describe the finished image the way you'd brief a designer, including what must not change.

  1. Attach the sketch. Open Mel on a canvas and drag the file into the chat box, or use the attachment button. The chat takes JPEG, PNG, WebP and GIF files, and anything you attach is also added to the canvas as a file node.
  2. Describe the finished image. Name the material and the light, and the lens if the shot matters. A request to make it realistic gives Mel almost nothing to work with.
  3. Say what has to stay. A line such as "keep the proportions and composition exactly as drawn" tells Mel to treat the drawing as the plan.
  4. Add a swatch if the surface matters. Attach a photo of the fabric or material along with the sketch, and say which file is which.
  5. Ask for more than one take. Each run reads a sketch slightly differently. Ask for three or four and keep the one that holds your proportions best.

What Mel builds and how to change it

Mel picks an image model that can follow a reference, writes the prompt from your brief, connects the sketch to the image node (with the swatch, if you added one) and runs it. The result is a small graph on the canvas, and every node in it has its own prompt, model and references that you can change by hand.

  • Swap the model. Change the model on the image node and run it again to see how another one reads the same drawing. Our library of leading models includes GPT Image 2.5, which takes up to 16 connected reference images, and Flux 3 Image.
  • Edit the prompt. If the render is right except for the light, change that line and rerun the one node. The earlier prompt is kept as a previous version, so you can compare and go back.
  • Start another take. A new run can start while earlier runs continue, and each run is saved as its own version on the node.
  • Fix one area. Open the image full screen, use Inpaint to paint over the part that's wrong, and describe the fix in the prompt field.

Prepare the sketch before you upload

Check these first:

  • Use dark, high-contrast lines. Faint pencil reads as noise, so darken the lines or trace over them before you scan.
  • Keep the background plain. Paper texture and shadows get read as part of the drawing. Photograph the page flat in even light and crop to its edges.
  • Use one subject per file, scaled to fill most of the frame. A page of thumbnails confuses the structure, so split the drawings up.
  • Take off the labels. Annotations and dimensions tend to come back as garbled marks. Erase them and put that information in the brief.

Common problems and how to fix them

Problem

Likely cause

Fix

The result ignores the drawing

The sketch went in as a loose reference

Tell Mel the outlines and proportions are fixed, or try another model on the node

Proportions shift

Faint or broken lines

Darken and close the main outlines

It looks flat or plastic

The brief doesn't describe light or material

Add the material and the lighting setup to the brief

The sketch's wobble shows through

The model is following the lines too literally

Ask for clean, finished edges

Labels come out garbled

Writing left on the drawing

Erase it and move the information into the brief

The model invents parts you didn't draw

An unfinished area of the sketch

Finish the outline there, or describe that part in the brief

Why turn sketches into images on Melius

Melius is the AI-native operating system for creatives, built around AI agents for creative work. A sketch is usually where a project starts, and on Melius the render sits on the same canvas as whatever comes next. Ask Mel for a product mockup, or a short video that opens on the render as its first frame, and it builds those steps beside the first one.

Mel picks the model for each step as it builds, so the render and the video each go to a model suited to that job. If you'd rather choose, set the model on any node yourself.

For more ways to develop a concept, explore AI-generated design concept tools. To take the finished render into motion, compare AI image-to-video generators.

Frequently asked questions

Can AI turn a rough hand-drawn sketch into a realistic photo?
Yes, as long as the main outlines are dark and clear. Use a tool that treats the sketch as a structure, and describe the material and the light in the prompt.
How do I stop AI from changing my drawing?
Say in the prompt or brief that the proportions and composition must stay exactly as drawn, and pick a tool that locks the layout to your outlines. On Melius, put that line in your brief to Mel.
Does a photo of a paper sketch work, or do I need a digital drawing?
Both work. A digital drawing is cleaner, but a phone photo is fine if you shoot it flat in even light and raise the contrast so the lines stand out from the paper.
Do I need to write a prompt?
Yes, a short one. The sketch carries the shape, but only the words can say what the object is made of and how it's lit. On Melius you write a plain-language brief to Mel, and Mel writes the prompt for each node from it.
Can Mel work from more than one sketch at once?
Yes. You can attach up to 15 images to one message in the Mel chat, so a set of views or a series of concepts can go in a single brief. Say which sketch is which and what each render should look like.
Can I use the image commercially?
You own the content you create on Melius and can use, publish, and distribute it commercially, subject to the underlying model providers' terms. Melius doesn't claim ownership of your work and doesn't use it to train AI models.

Have a sketch waiting in a notebook? Open Melius, attach it in a brief to Mel, and say what the finished piece is made of.

Related Articles