November 18, 2026 • 12 Min Read
November 19, 2026 • 7 Min Read
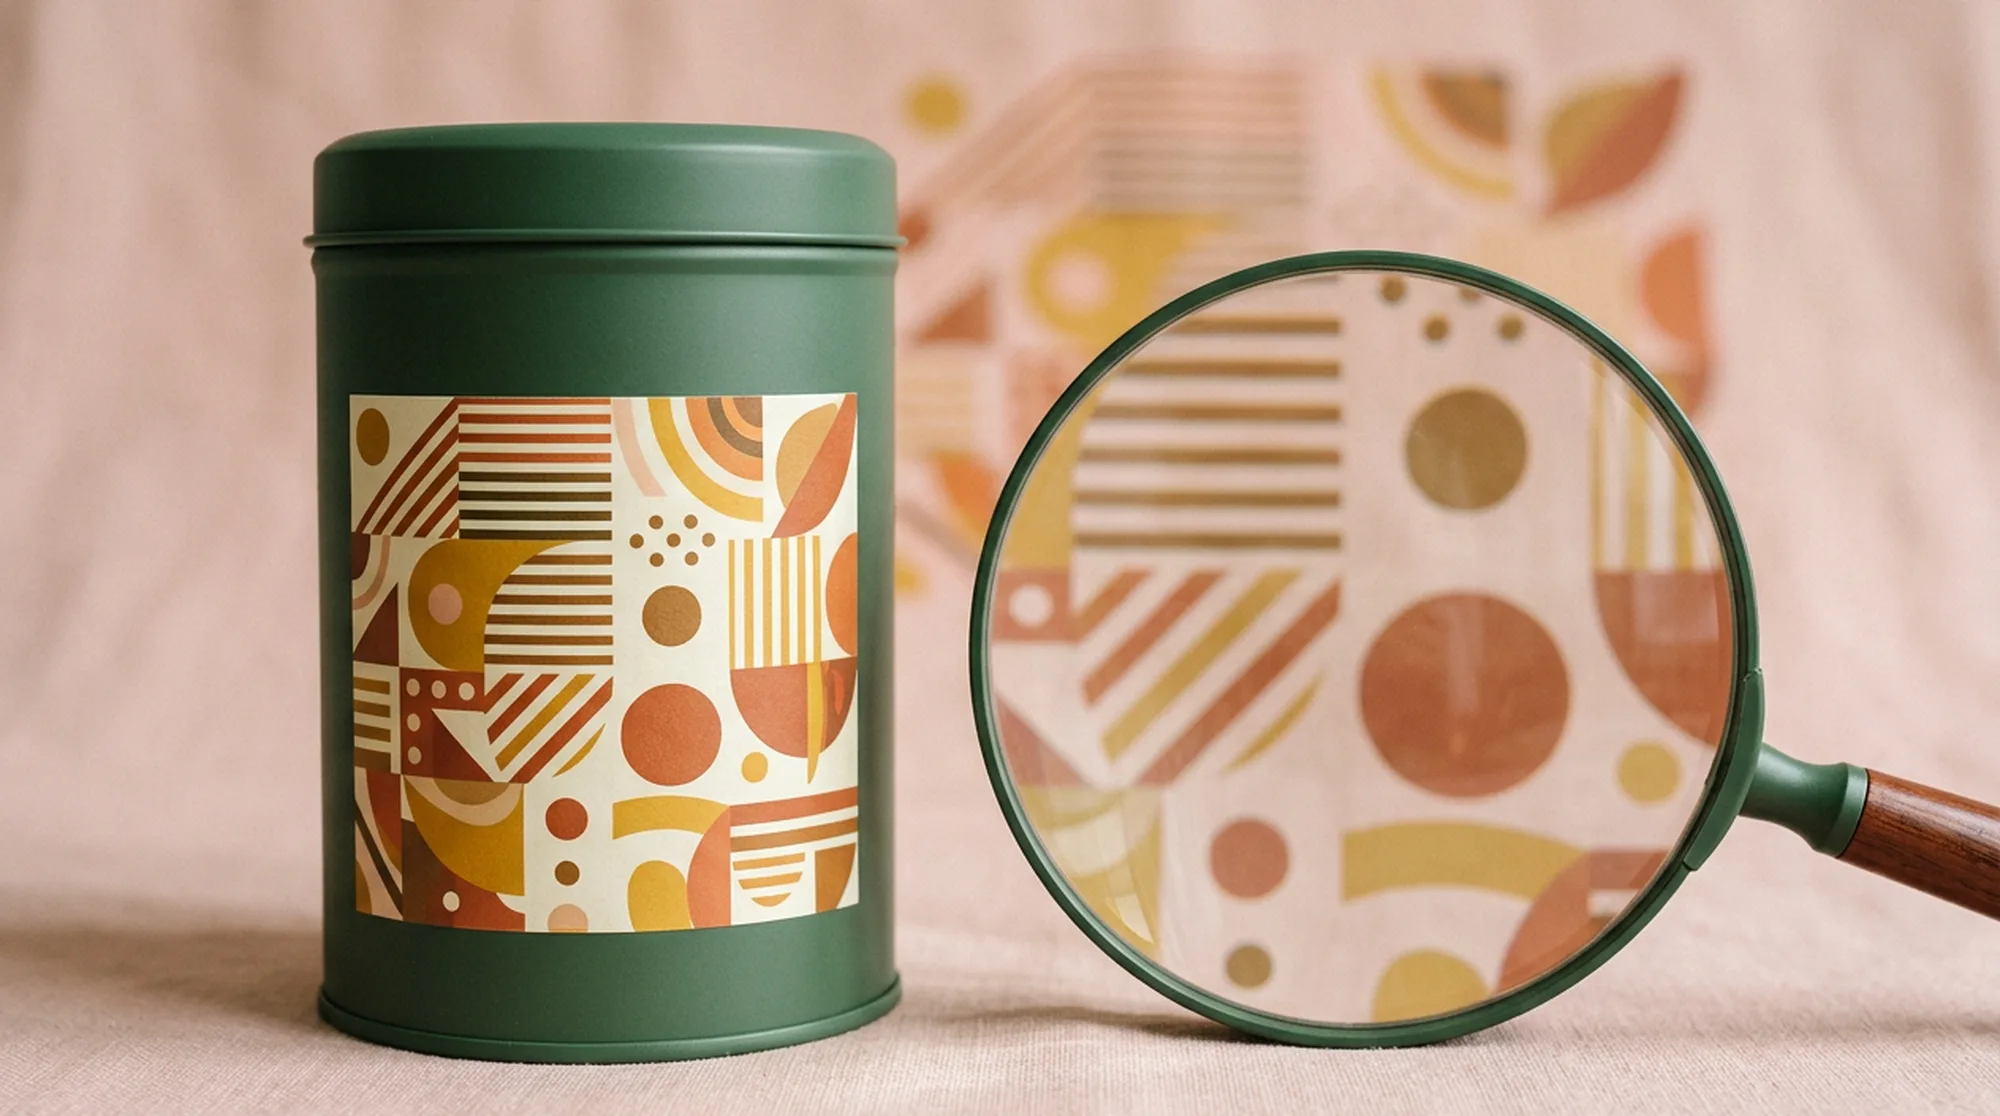
To keep a product label consistent across AI-generated images, give the model the label as its own reference, use a model that renders small text well, protect the label whenever you change the scene, and composite the original artwork onto any shot where the wording must be exact. Image models redraw a label on every run from what they can see, which is why a big wordmark usually survives while an ingredient list, a net weight, or the type on a curved bottle picks up errors after a few images.
References do most of the work. One photo of the whole pack won't show the model anything small clearly, so shoot each label panel straight on and write the exact wording into the prompt. Once the label's right in a shot, change the scene around it with a masked edit or inpainting and leave the label pixels alone. For a main listing image or a pack that carries regulatory copy, finish in an editor with layers, laying the flat label artwork over the generated product and warping it to the shape of the pack.
Doing all of that by hand is manageable for a single image. Across a campaign of 20 images, rebuilding the references for every shot is where labels start to slip. Melius, the AI-native operating system for creatives, handles this with Elements. You'll save a product once, with its photos, measurements, and label wording, and then mention it in any brief to Mel, the Melius agent.
The four steps below cover a labeled product from first photos to a finished set. For one hero image built from a pack shot, our product hero shot guide is the shorter route.
Start with photos. Collect front, back, and side views of the product, then a close-up of every panel that carries text, from the brand name down to the batch code, plus the dieline if you have one. A sharp phone photo in even light works fine. Give each product and each color variant its own Element, so a brief can call for the orange flavor without pulling in the lime one.
Open Elements in the library, choose Product, and name it the way you'll want to type it in a brief. Upload the photos or select them from your files, and check the description Melius writes for each image so the front isn't labeled as the back.
Then fill in the facts a photo can't show. Materials, colors, and dimensions go in with units, and you can copy them from your product page. The guidelines field is where the label lives in words, including the exact wording of each panel and where the logo sits. Check the credit quote, select Create, and Melius turns the references into a reference sheet. Creating or editing Elements takes an editor, admin, or owner role.
On Professional and above, you review each product version before generations use it. Melius shows the originals, the detail crops it cut from them, and generated views of angles your photos didn't cover. The generated views need the closest look, since they're the model's reconstruction of sides you never shot.
In the chat, type # and pick the Element, attach a reference for the look you want, and say what can't change. A brief for a hot sauce brand might read:
"Make eight images of #Harbor Hot Sauce for the summer launch: on a picnic table, next to a plate of tacos, in a hand at a cookout, and five close crops of the front label. Use the light in the attached photo. The label wording, the logo position, and the red of the cap have to match the Element, and the heat rating on the side panel must be readable."
Mel builds the canvas and runs the set. For each generation, Melius picks the reference images and detail crops that fit the chosen model's input limits, and a model with room for only one reference may get the reference sheet. You can connect up to three Elements to a node, so the same brief can bring in a second product or a prop that appears in every shot.
Model choice matters most on the label crops. Mel will pick the model that's best suited for each step of the job.
Elements improve consistency, but they don't make generation exact, so the last step is a pass over every image. Open each one full screen, because the canvas preview is downscaled and small type looks softer there than it is. Every step stays open on the canvas, so a bad label gets fixed on its own node while the rest of the set stays put.
Got a product whose label has to read right in every shot? Save it as an Element in Melius and brief Mel on the first set.
November 18, 2026 • 12 Min Read
November 16, 2026 • 10 Min Read
November 15, 2026 • 9 Min Read